Pop Art Photoshop Challenge
Pop Art Photoshop Challenge
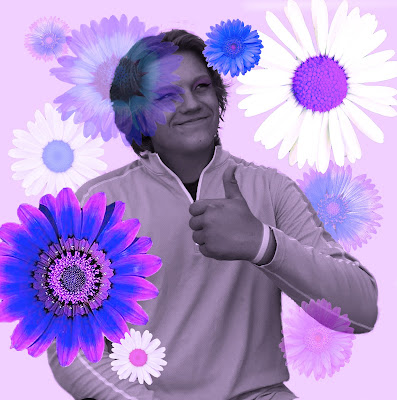
I began thinking of designs as soon as we got the assignment. I knew I wanted to incorporate flowers so I had to decide how to add them in. Since floral patterns are often seen as feminine, I new I had to have some other traditionally “girly” aspects in my photo...so I gave Drew some gorgeous makeup.
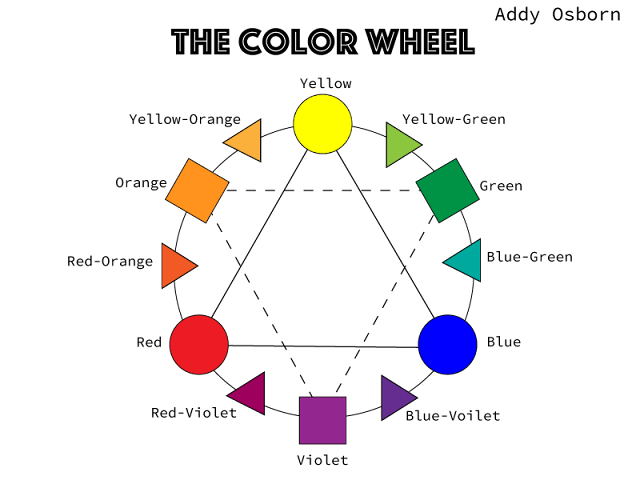
I went with a light violet, ultramarine, and fuschia color scheme. This means that I did have to alter the flowers to fit my palette. Other than the eyeshadow, Drew himself was in black and white. I did, however, set a magenta filter over all the layers so he was slightly had a hint of purple.
I was inspired most by James Rosenquist. His art kind of seems hectic and chaotic at first, but if you just take a closer look, it makes sense. There are a lot of images and layers in just one piece of his. I wanted to have the same effect in my pop art project.
Some of the Photoshop tools I used were layer masks, quick selection, brushes, paint bucket, crop, adjustment layers, etc. First of all, I had to crop some of the photo out. I edited the opacity (or transparency) of objects so that they wouldn’t cover up Drew. I did a lot of layer masks in this project. My plan was to single out individual objects from their backgrounds using the masks and the quick selection tool. Adjustment layers proved helpful when changing the color, brightness, contrast, saturation, etc. of an object. The paint bucket was useful when filling up large areas, like the backdrop layer, and I didn't have to go color the entire thing by hand. For smaller details though, I utilized different types of brush tools. I used a hard "calligraphy" type brush for the eyeliner and a bigger, softer, less opaque brush for the eyeshadow.


Comments
Post a Comment